Uploading Your VRChat Avatar: How to Do It Right
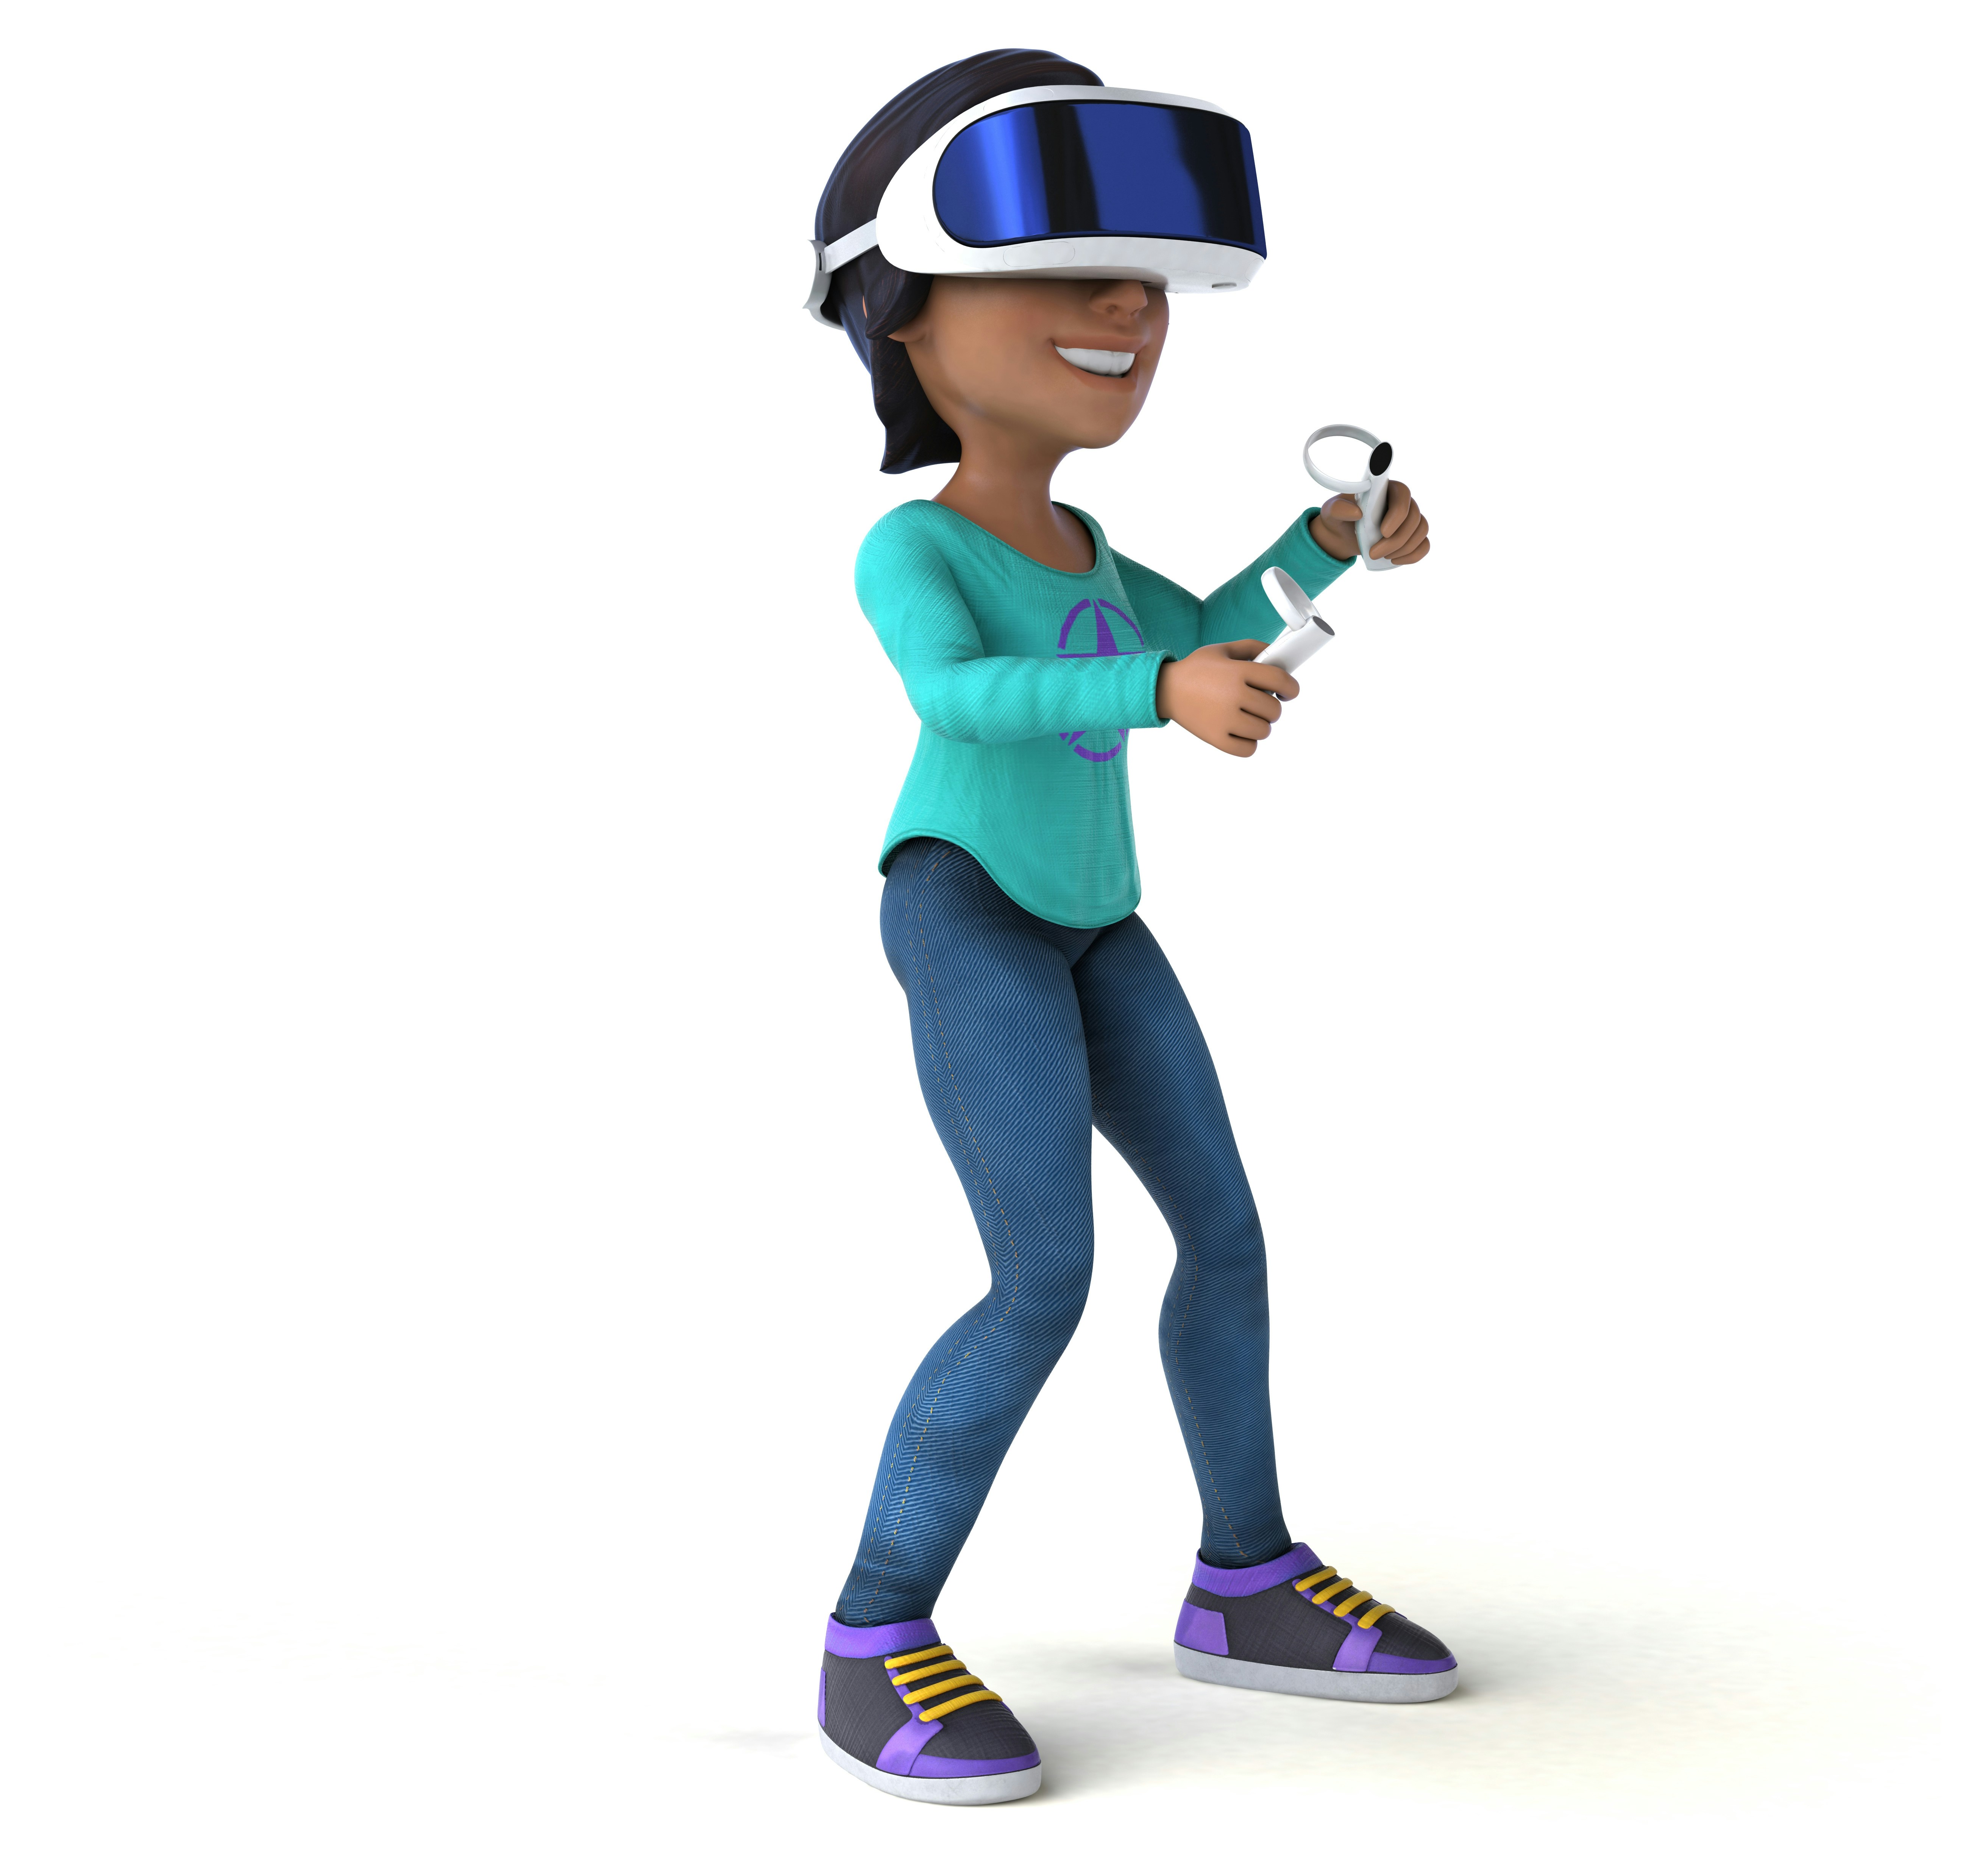
Introduction to VRChat Avatars
VRChat is a social virtual reality platform that allows users to create, share, and explore virtual worlds in a highly interactive manner. One of the key features that set VRChat apart from other virtual reality platforms is the ability to use personalized avatars. These avatars serve as digital representations of the users, allowing them to express their identity, personality, and creativity within the virtual space.
The significance of avatars in VRChat cannot be overstated. They play a crucial role in facilitating social interactions between users. When users interact with each other, the avatars are essential for communication, as they convey emotions and intentions in a visually engaging way. This visual representation fosters a sense of presence, making interactions feel more genuine compared to traditional text-based communication methods. Avatars have the ability to mimic real-life gestures, facial expressions, and behaviors, contributing to a richer social experience.
Moreover, custom avatars enhance the user experience by providing an opportunity for self-expression. Users can choose from numerous pre-existing avatars or create their own from scratch, allowing for unprecedented levels of personalization. This attribute not only makes interactions more enjoyable, but it also helps users forge social connections based on shared interests, aesthetics, and creativity. From fantastical characters to realistic representations, the vast array of avatar options enables users to immerse themselves fully in various virtual environments.
In summary, VRChat avatars are more than just digital characters; they are a fundamental aspect of the social dynamics within the platform. They enhance communication, foster self-expression, and create a vibrant community where users can engage meaningfully. Understanding the importance of avatars in VRChat is essential for maximizing the user experience in this exciting virtual realm.
Preparing Your Avatar Model
Before uploading your avatar to VRChat, it is vital to ensure your 3D model is properly prepared. This preparation involves several key steps, including creating or obtaining a suitable avatar model that aligns with VRChat’s specifications. Understanding these requirements is crucial for a smooth uploading process and optimal performance in the virtual environment.
When creating a 3D model for VRChat, using software such as Blender, Maya, or 3ds Max can be beneficial. If you are not adept at 3D modeling, various online resources offer pre-made avatars which can serve as an excellent starting point. However, it is essential to confirm that any external assets comply with VRChat’s technical constraints, which include having a polygon count under 20,000 for optimal performance and the correct texture sizes. Models exceeding these limits may not only create performance issues but may also be rejected by the platform.
Moreover, ensuring that your avatar has a proper rig is fundamental for animation and interaction within VRChat. It is recommended to utilize a humanoid rig, which enhances the avatar’s interaction capabilities in the VR setting. Additionally, integrating features such as blend shapes for facial expressions can significantly enrich the user experience. Optimization plays a critical role in this process; simplifying unnecessary geometry and minimizing texture sizes without compromising quality can lead to better frame rates and performance, contributing to a more enjoyable VRChat experience.
In the end, verifying that your avatar model adheres to VRChat’s specific requirements is essential. This will not only help in preventing technical issues but also ensure that you can fully engage with the VRChat environment. By following these guidelines, you can prepare an avatar that performs well and meets the expectations of the VRChat user community.
Installing Unity and the VRChat SDK
To successfully upload your avatar to VRChat, the first step involves downloading and installing Unity, a widely-used game development platform. Unity is instrumental in the avatar creation process, and VRChat requires a specific version to ensure compatibility. As of October 2023, it is recommended to use Unity 2019.4.31f1 for optimal performance with the VRChat SDK. This version supports the necessary features and has been tested to work smoothly with the platform.
You can obtain Unity by visiting the official Unity Hub website. Unity Hub simplifies the management of your Unity projects and installations. After downloading Unity Hub, follow the on-screen instructions for installation. Once you have Unity Hub installed, you can easily select and download the required version from the “Installs” tab. It is crucial to install the correct version as deviations might lead to complications during the avatar upload process.
After successfully installing Unity, the next step is to set up the VRChat SDK. The SDK, or Software Development Kit, is essential for importing your avatars into Unity and uploading them to VRChat. To download the VRChat SDK, navigate to the VRChat Documentation website, where you will find the latest version of the SDK available for download. Ensure you choose the correct version that corresponds to your Unity installation.
Once you have downloaded the VRChat SDK, return to Unity and create a new project. Go to the “Assets” menu, then select “Import Package” followed by “Custom Package.” Locate the VRChat SDK file you downloaded and proceed with the installation process by selecting the necessary components. Proper installation of both Unity and the VRChat SDK is crucial as it lays the groundwork for your VRChat avatar development journey.
Setting Up Your Unity Project
To create a new project in Unity for your VRChat avatar, the first step is to launch the Unity Hub application. If you have not installed the necessary Unity version, you will need to do so. VRChat typically recommends a specific version for optimal compatibility, so ensure you are using that before proceeding.
Once Unity is open, click on the “New” button to create a new project. Choose a 3D template, as VRChat avatars are 3D models. Name your project appropriately to reflect its contents, which may include your avatar’s name, and select a location on your computer to save it. After you’ve set these parameters, click “Create” to move into your new workspace.
After establishing a new project, the next step will be to import the VRChat SDK. You can obtain the most recent version of the VRChat SDK from the official VRChat website. Once downloaded, drag and drop the SDK file into the Assets folder of your Unity project. This import process allows you to access necessary features and tools designed for avatar creation and upload.
Following the SDK import, it is essential to configure your project settings to ensure smooth functionality. Navigate to the “Edit” menu and select “Project Settings.” Here, you must focus on the Player settings. Make sure to adjust the ‘Graphics API’ supported by VRChat, which generally includes Direct3D in Windows environments. You may also wish to set the maximum texture size to meet VRChat’s performance standards.
Furthermore, as you prepare your assets, organize them in the Unity workspace. Creating designated folders for models, materials, shaders, and scripts will facilitate easier management and access as you develop your avatar. Proper organization in your Unity project is critical, as it not only streamlines your workflow but also helps avoid issues during the avatar upload process. With your project set up correctly, you will be well on your way to creating and uploading your VRChat avatar.
Importing Your Avatar Model into Unity
Importing your 3D avatar model into Unity is a crucial step in preparing your asset for upload into VRChat. To begin the process, ensure that your avatar model is saved in a compatible file format, such as FBX or OBJ. Unity accepts various formats, but FBX is often recommended for its support of animations and textures.
Once your model is saved, open Unity and create a new project or select an existing one. Navigate to the ‘Assets’ folder within the Unity Editor. Right-click in the folder and select ‘Import New Asset.’ This action will open a file browser; locate your avatar model and click ‘Import.’ After this step, your model will appear in the project’s ‘Assets’ panel.
Before placing the model in your scene, it is essential to check the import settings. Click on your avatar in the ‘Assets’ panel, and then look at the ‘Inspector’ window on the right side of the screen. Adjust the import settings where necessary, focusing on scale, rotation, and axis conversion, which are critical for ensuring that your avatar appears correctly within the VRChat environment. For most avatars, a scale factor of 1 is standard. Depending on your model’s original dimensions, you might need to modify this value to ensure the avatar is appropriately sized in Unity.
Additionally, consider the hierarchy of your model’s components. A well-structured hierarchy will aid in optimizing performance and functionality in VRChat. For example, ensuring that the armature and mesh are parented correctly can prevent issues related to avatar movement. Once you are satisfied with the import settings and hierarchy configuration, you can drag the avatar into the scene to begin further customization and setup for VRChat.
By following these steps meticulously, you will create a solid foundation for your avatar, ensuring it performs seamlessly in the VRChat environment.
Configuring Avatar Settings
When uploading your avatar to VRChat, configuring the appropriate settings is crucial for ensuring that your avatar functions correctly and appears as intended. Start by applying the necessary materials to your avatar model. Depending on the texture and design, select materials that enhance visual appeal while maintaining performance. Avoid overly complex materials that may affect the loading time and performance in VRChat.
Next, setting up animations is an essential step for bringing your avatar to life. For instance, if your avatar has a specific idle animation or other interactive movements, you should ensure these animations are correctly integrated. The animation settings can be adjusted through Unity’s Animator component. Ensure that your animation clips are optimized for VRChat, as large file sizes can lead to issues during the upload process.
An important feature to consider during configuration is the use of blend shapes. These allow for facial expressions and other deformations to enhance interactivity in VRChat. To utilize blend shapes, you should first create them within your 3D modeling software and then import them into Unity. Assign blend shapes to the appropriate parameters within the VRChat avatar configuration settings to enable smooth transitions between different expressions.
Lighting is another critical aspect of avatar configuration. Proper lighting can significantly affect how your avatar appears in different environments. Ensure that your avatar is set to be lit correctly; using standard shaders will give the best results in most VRChat environments. If you encounter common issues such as materials not displaying correctly or animations not playing, check for compatibility between your avatars’ settings and VRChat’s requirements. Adjusting settings and conducting performance tests can help troubleshoot these problems effectively.
Building and Uploading Your Avatar
Creating a custom avatar for VRChat is an engaging process that enhances user interaction within the platform. To begin the avatar-building journey, it is essential to use software such as Unity, where you can import your 3D model. After preparing your model, ensure that it meets VRChat’s specifications, including poly count and texture resolutions. Generally, avatars should be under 20,000 polygons to ensure optimal performance during gameplay. Further, the texture resolution should not exceed 1024×1024 pixels, balancing quality and performance.
Once your avatar is created, it is crucial to set up your project in Unity appropriately. First, you need to install the latest version of the VRChat SDK, which can be found on the VRChat website. After installing, import the SDK into your Unity project. This step allows the integration of necessary tools for uploading your avatar into VRChat. Additionally, create a new folder within your project for better organization of assets related to your avatar.
With your avatar ready and the SDK imported, you must configure the avatar’s components accurately. Apply the appropriate avatar descriptors, ensuring the character’s animations are functioning correctly, and set up parameters that define interaction types and gesture capabilities. Once these setups are completed, you can utilize the VRChat SDK’s upload tool. Navigate to the ‘VRChat’ menu in Unity, and select ‘Control Panel’, where you’ll find the upload option. Ensure you review all settings and descriptions before proceeding to upload your avatar. During this process, VRChat may present you with various warnings or errors, such as poly limit exceedance or missing components. Address these issues promptly to ensure a smooth submission.
After resolving any errors, click ‘Upload’ to finalize the process. By following these steps carefully, you can create and upload an avatar that enhances your VRChat experience, allowing for personalized and interactive engagements within the virtual realm.
Testing Your Avatar in VRChat
After successfully uploading your avatar to VRChat, the next crucial step involves testing its functionality within the virtual environment. This process allows users to ensure that the avatar behaves as intended, making necessary adjustments along the way. To begin, log into your VRChat account and navigate to the main menu.
Once you are in the VRChat environment, you will want to access the avatar selection interface. This can typically be done by selecting the “ avatars” option within the menu. Your newly uploaded avatar should appear in the list of available options. If you do not see it immediately, ensure the upload process was completed without errors and try refreshing the avatar list. Locate your avatar and select it to equip it.
Upon equipping your avatar, take a moment to observe how it performs. Pay particular attention to the avatar’s movements and textures. Does it animate smoothly? Are there any noticeable glitches or whether any components may not function correctly? Whether in desktop mode or using a VR headset, prioritize testing various movements such as walking, jumping, and emotes, as these actions can reveal potential issues that may require troubleshooting.
If any bugs are detected during your test run, such as issues with scaling or clipping, it is advisable to revisit the avatar creation software to make the necessary adjustments. Common problems may be resolved by ensuring that the avatar is correctly rigged and that the appropriate materials are applied. After implementing such changes, repeat the upload process and re-enter VRChat to ensure that the updates take effect. This iterative process is vital in achieving a polished and fully functional avatar that enhances your experience in the VRChat platform.
Tips for Customizing and Optimizing Avatars
Customizing your VRChat avatar is not only an expression of personal style but also an opportunity to enhance performance and visual appeal. When designing an avatar, consider optimizing polygon counts to ensure smoother gameplay. High polygon counts may look great but can significantly hinder performance, especially in crowded environments. Aim for a balance between aesthetic detail and the technical limitations of the VRChat platform. A good target is around 5,000 to 10,000 polygons for a standard avatar.
When it comes to materials, using fewer textures and choosing lower-resolution alternatives can further boost performance. Opting for dynamic materials can greatly enhance the visual presentation of your avatar. These materials can react to environmental factors, creating an immersive experience. Ensure that the shaders are compatible with VRChat’s capabilities to prevent any unwanted performance dips.
Furthermore, integrating special effects can make your avatar stand out, but it is essential to use them judiciously. Effects such as particle systems or custom shaders can enrich the avatar’s aesthetic but can also burden the performance if overused. Test your avatar in various scenarios to find the right balance between eye-catching elements and functionality. Simplifying or adjusting these effects can improve framerate without compromising the visual appeal of your avatar.
Lastly, remember to keep animations lightweight, as complex animations can lead to lag. When incorporating animations, use Unity’s Animator Controller to manage them effectively. Prioritize intuitive and smooth animations that complement your avatar’s character without overwhelming the system.
By following these tips, you can achieve a well-optimized VRChat avatar that not only looks striking but also performs efficiently, providing you with the best possible user experience in the virtual world.
